
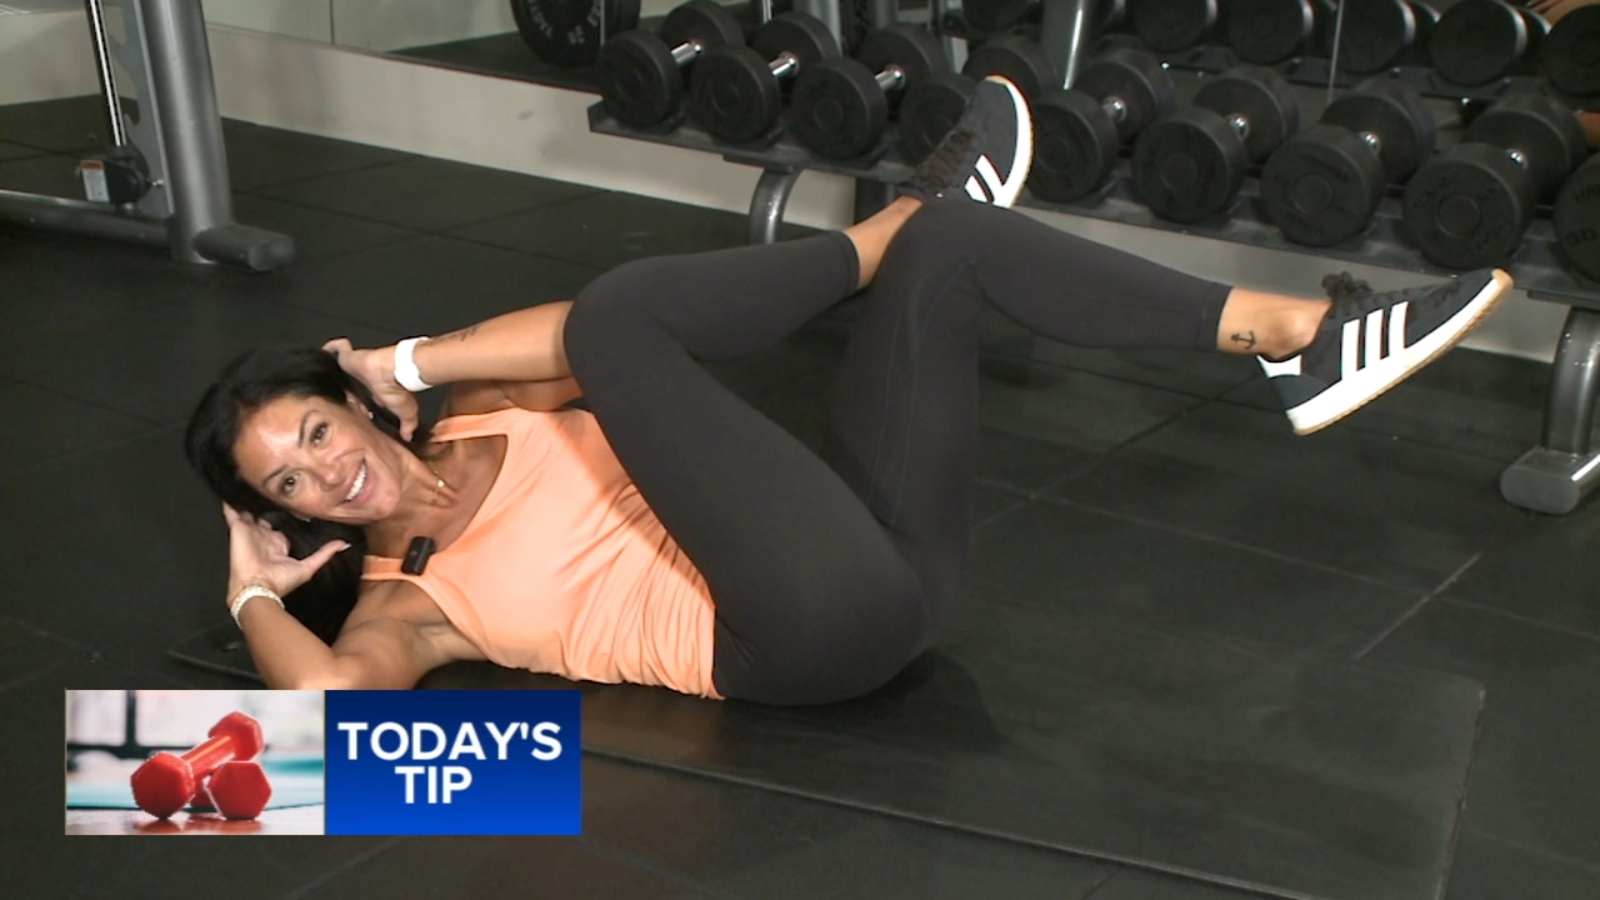
If you’ve been on the hunt for a low-impact move that targets your hips, glutes, and core all at once, the figure four floor exercise deserves a spot in your routine. This deceptively simple stretch-and-strengthen combo is a favorite among physical therapists, Pilates instructors, and yogis alike , and when you add a twist, the benefits multiply. In this guide, you’ll learn exactly what the move is, how to do it properly, why the rotational element matters, and how to tweak it for your fitness level.
What Is the Figure Four Floor Exercise?
The figure four floor exercise is a mat-based movement where you position one ankle across the opposite knee, creating the shape of a “4” with your legs. From there, you typically draw the uncrossed leg toward your chest while allowing the top knee to fall open, creating a deep stretch through the hip and glute complex.
It’s often associated with Pilates (where it’s called the figure four stretch or “supine pigeon”) and is a staple in lower-body mobility work. Because it’s done lying on your back, there’s virtually no spinal compression, making it accessible to beginners, older adults, and anyone recovering from injury.
Why Add a “Twist”?
The classic version is already powerful, but the figure four floor exercise with a twist introduces rotation through the torso. This subtle change recruits the obliques, deep core stabilizers, and mid-back muscles while also enhancing thoracic mobility. In other words, you get hip opening plus spinal mobility in a single, time-efficient move.
Benefits of the Figure Four Floor Exercise
- Releases tight hip rotators: The piriformis and deep external rotators get a deep, sustained stretch, which can relieve lower back tension caused by tight hips.
- Strengthens the glutes: When performed actively (pressing the knee away instead of just stretching), it fires up the glute medius and maximus.
- Improves core stability: Adding a twist challenges the transverse abdominis and obliques to keep the pelvis stable while the upper body moves.
- Boosts spinal mobility: Rotation through the thoracic spine counteracts the forward-flexed posture many of us adopt during the workday.
- Aids recovery: Because it’s gentle and grounding, it’s an excellent cool-down move after running, cycling, or heavy lower-body lifting.
- Low-impact and joint-friendly: No jumping, no impact forces , just controlled movement on the floor.
Step-by-Step: How to Do the Figure Four Floor Exercise With a Twist
Follow these steps to nail the form. If you’re new to the movement, move slowly and breathe deeply throughout.
- Set up your starting position. Lie flat on your back on a yoga mat or carpeted surface. Bend both knees and plant your feet hip-width apart, close to your sit bones.
- Create the “four” shape. Lift your right leg and place your right ankle just above your left knee, keeping the right foot flexed. Your legs should now resemble the number 4.
- Thread and lift. Lift your left foot off the floor and thread your right hand through the opening between your legs. Reach your left hand around the outside of your left thigh. Clasp your hands behind your left hamstring, or simply hold the back of your thigh if you can’t reach.
- Draw the legs in gently. Pull the left leg toward your chest while allowing the right knee to fall outward. You’ll feel a stretch in the right glute and outer hip. Hold for 2-3 breaths.
- Add the twist. On an exhale, gently rotate your upper body to the left, dropping your right elbow toward the inside of your right knee. Your left hand can guide the knee gently away from your midline to deepen the hip opening.
- Hold and breathe. Stay in the twisted position for 3-5 deep breaths. With each exhale, try to relax a little deeper into the hip.
- Return to center and switch sides. Slowly release, place your left foot back on the floor, and uncross your right leg. Then repeat the entire sequence on the opposite side.
Common Mistakes to Avoid
Even though this looks simple, small errors can reduce the effectiveness or cause strain. Watch out for these pitfalls:
- Pulling too aggressively on the back leg. The stretch should feel intense but never painful. If you’re yanking your thigh toward your face, ease off.
- Letting the head and neck strain. Your shoulders should stay relaxed on the mat. If your head lifts off the floor, you’re recruiting your neck instead of your core.
- Forgetting to flex the top foot. A flexed top foot protects the knee joint and gives you better leverage for the active stretch.
- Rushing the twist. The rotation is meant to be slow and controlled. Jerky movements defeat the purpose of mobility work.
- Sagging through the lower back. Engage your core lightly to keep your spine neutral, especially as you twist.
Variations and Progressions
Once you’ve mastered the basic figure four floor exercise with a twist, you can adjust the intensity to match your goals.
Beginner Variation: Static Stretch Only
Skip the twist at first and simply hold the figure four shape with your hands clasped behind the hamstring. Focus on breathing into the hip for 30-60 seconds per side. This is perfect for anyone with limited hip mobility or lower back sensitivity.
Active Strengthening Variation
Instead of pulling the leg in, press your top knee away from your midline while using your hand to resist the motion. This isometric contraction wakes up the glutes and hip stabilizers without any spinal movement.
Bridge Progression
From the figure four position, plant your supporting foot firmly and lift your hips into a single-leg bridge. This loads the glute of the supporting leg while maintaining the hip stretch on top. Adding the twist in this elevated position is advanced , only attempt it once the basic version feels easy.
Standing Figure Four
If you have tight hips, you can also do a standing version by crossing one ankle over the opposite knee and sitting back into a shallow squat. This is great for warming up before a run.
Who Should Try This Exercise?
The figure four floor exercise with a twist is wonderfully versatile, but it’s especially useful for:
- Desk workers and commuters who sit for long hours and develop tight hip flexors and external rotators.
- Runners and cyclists whose repetitive motion creates imbalances in the hip complex.
- Older adults looking to maintain hip mobility and balance safely.
- Pilates and yoga practitioners wanting to deepen their practice.
- Postnatal women (with doctor approval) rebuilding core-pelvic connection.
- Anyone with mild lower back discomfort stemming from tight glutes or piriformis syndrome.
If you have a recent hip surgery, herniated disc, or acute injury, check with a healthcare provider before adding this to your routine.
Tips for Getting the Most Out of the Move
- Breathe into the stretch. Inhale to lengthen, exhale to deepen. Holding your breath tightens the muscles you’re trying to release.
- Practice daily. Hip mobility responds well to short, frequent sessions , even 2-3 minutes per side per day adds up.
- Pair it with complementary moves. The figure four floor exercise pairs beautifully with the supine spinal twist, happy baby pose, and glute bridges for a complete lower-body mobility flow.
- Use props if needed. A yoga strap or towel around the back thigh can make the position more accessible if your hamstrings are tight.
- Stay consistent. Most notice measurable hip mobility improvements within 2-3 weeks of daily practice.
Sample 5-Minute Hip Mobility Flow
Want to drop the figure four floor exercise into a quick routine? Try this sequence:
- Knees-to-chest hug – 30 seconds
- Figure four stretch (no twist) – 45 seconds per side
- Figure four floor exercise with a twist – 5 breaths per side
- Supine spinal twist – 30 seconds per side
- Single-leg bridge with figure four – 8 reps per side
Run through this daily as a warm-up, cool-down, or standalone mobility break.
Final Thoughts
The figure four floor exercise is one of those rare moves that delivers outsized benefits for the minimal time and effort it requires. By adding a controlled twist, you transform a simple hip stretch into a full-spectrum mobility drill that opens the hips, rotates the spine, and fires up the deep stabilizers. Whether you’re a fitness newbie or a seasoned athlete, weaving this movement into your week can help you move better, feel better, and protect your body from the wear-and-tear of daily life. Start slow, breathe deeply, and let the hips gradually release , your lower back will thank you.